
Prusa MK3S+ 3D printer - assembly and first prints
I've bought a 3D printer some months ago. Motivation was simple; I wanted to build more physical things, instead of just creating software all the time. This should allow me to create all kinds of stuff, and it goes well with my other hobby; 📂3D modeling in Blender.
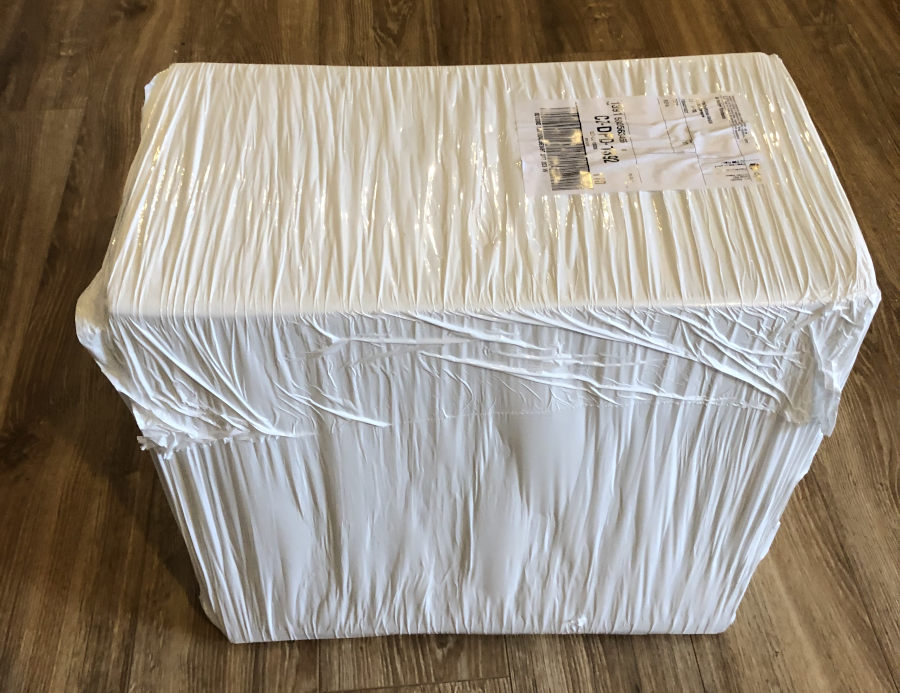
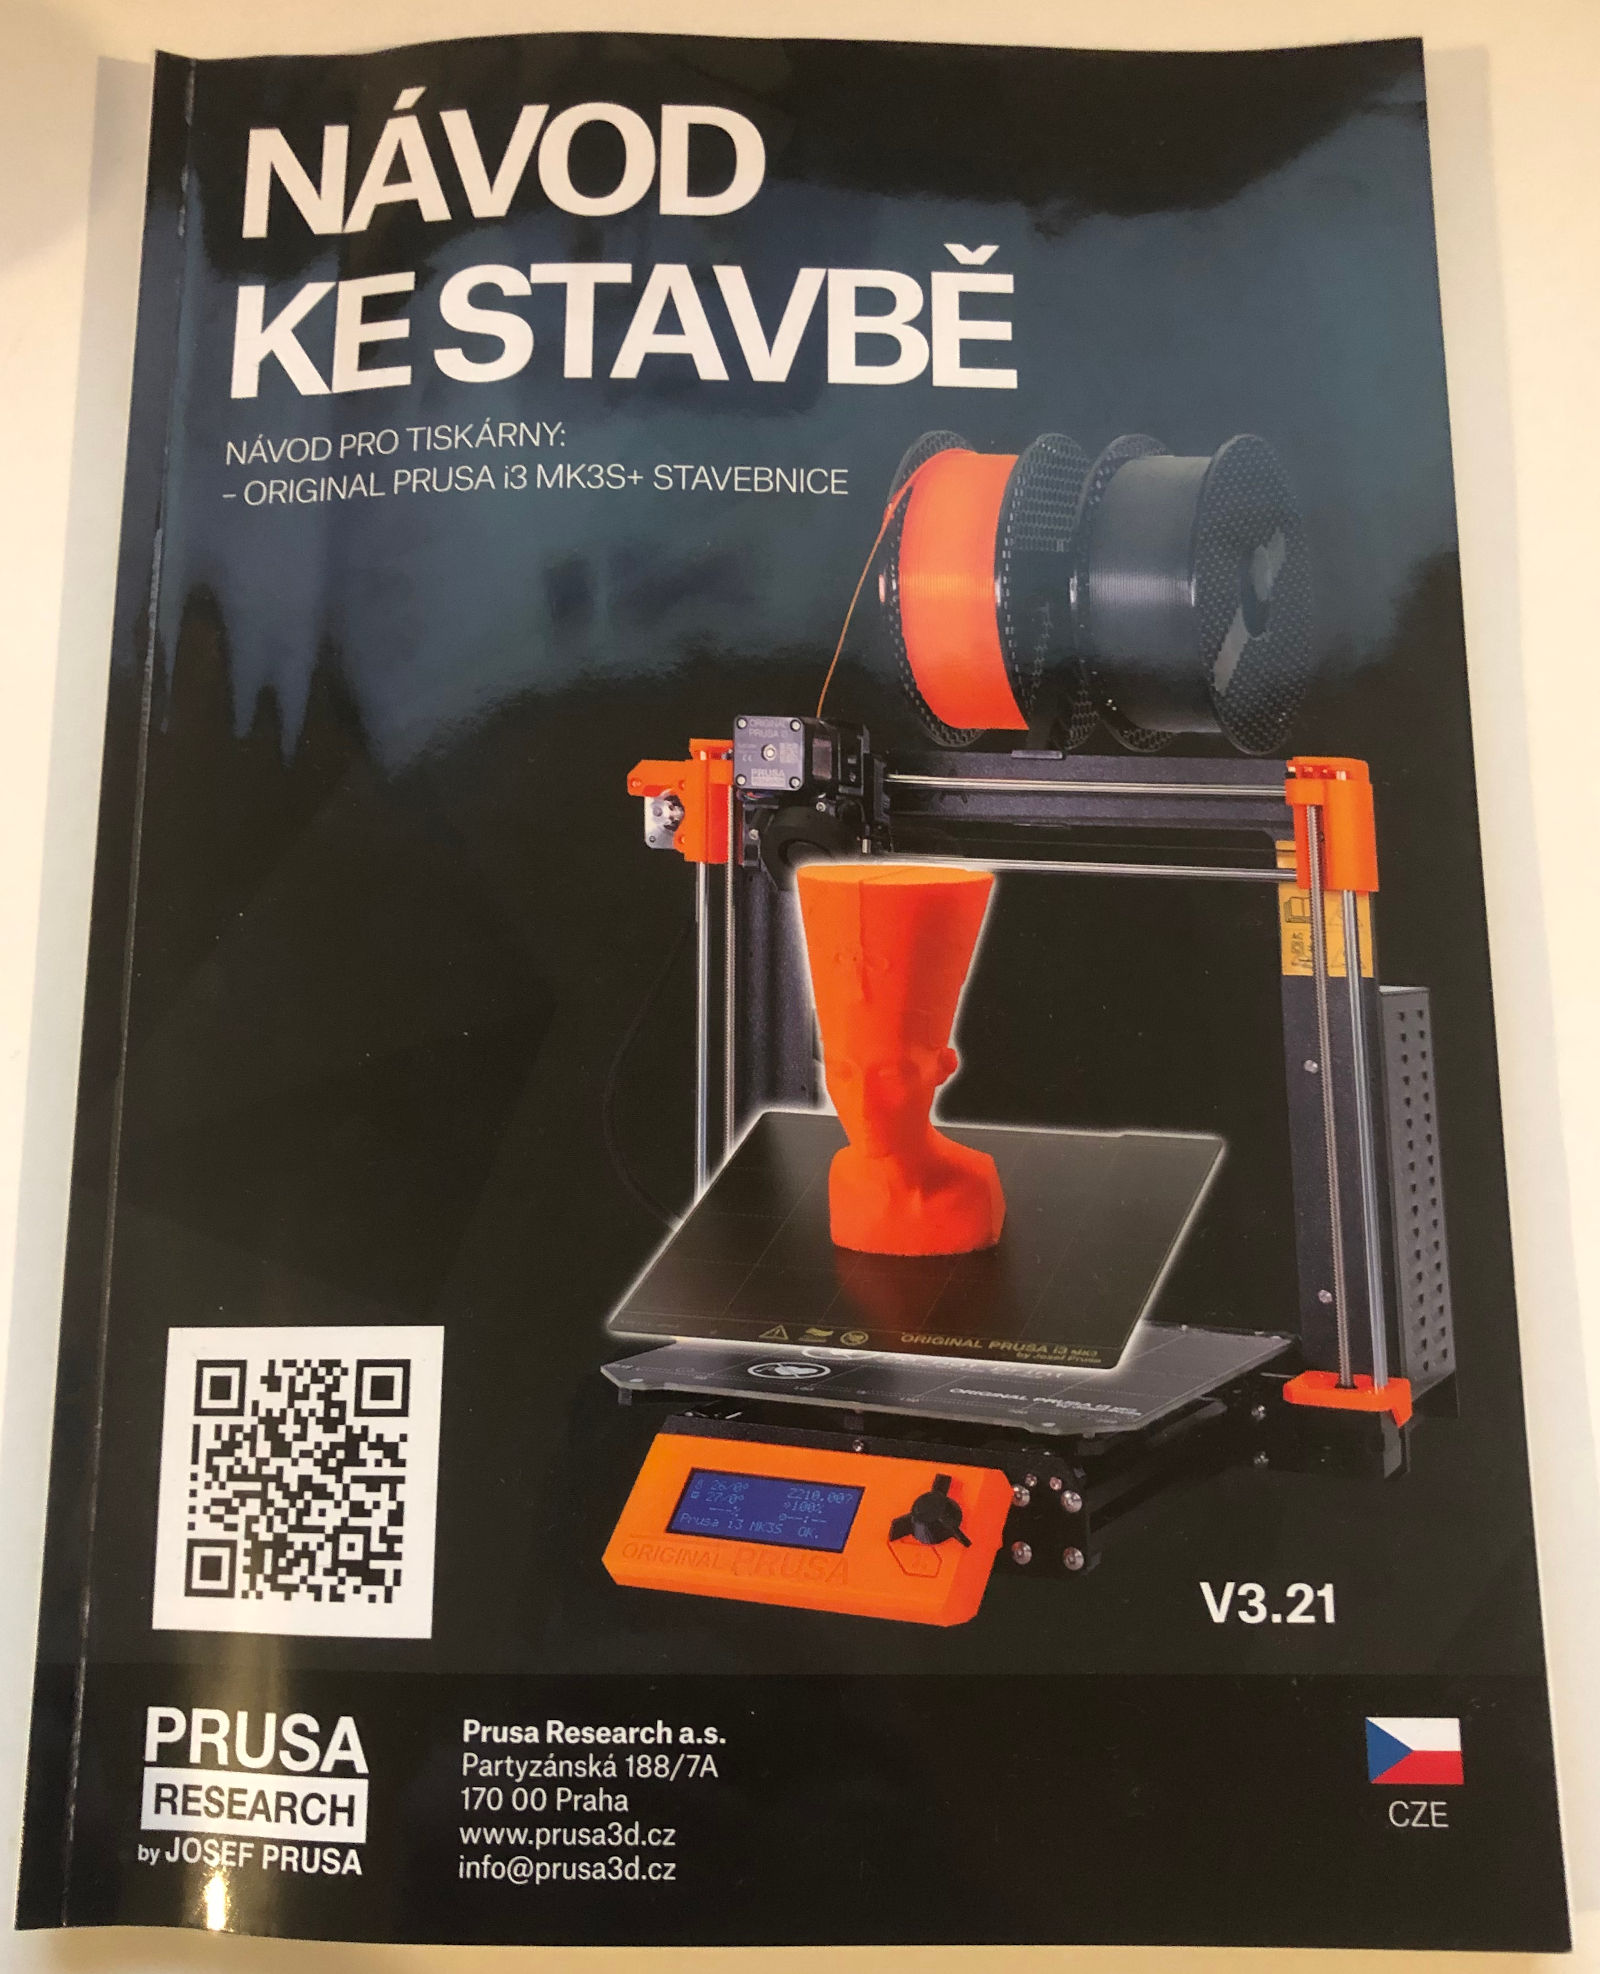
After a long wait (almost two months), the printer finally arrived .
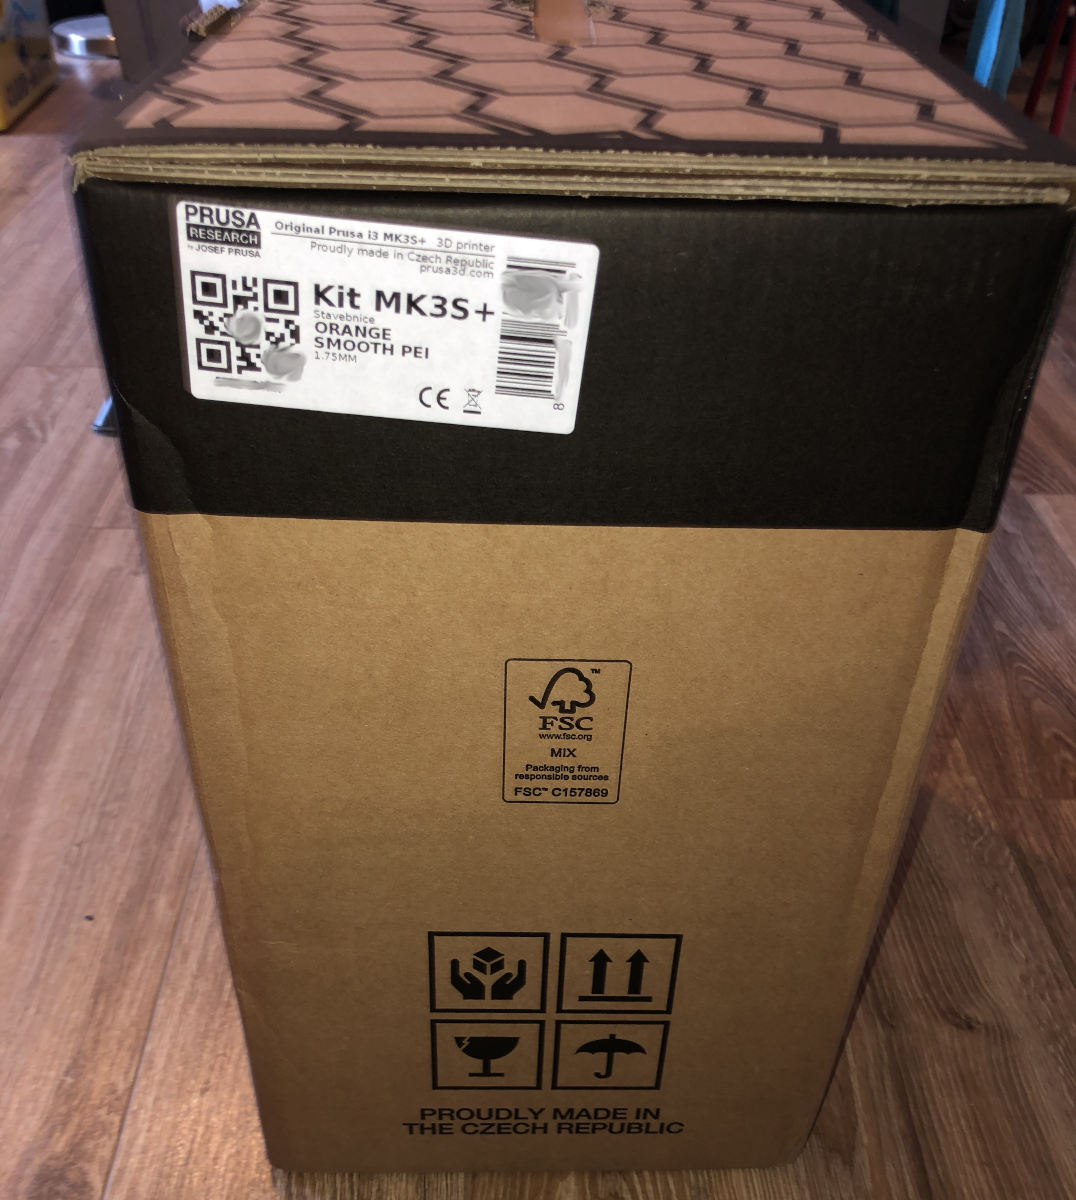

"Proudly made in the Czech Republic". I am glad I could support a local manufacturer.
Assembly
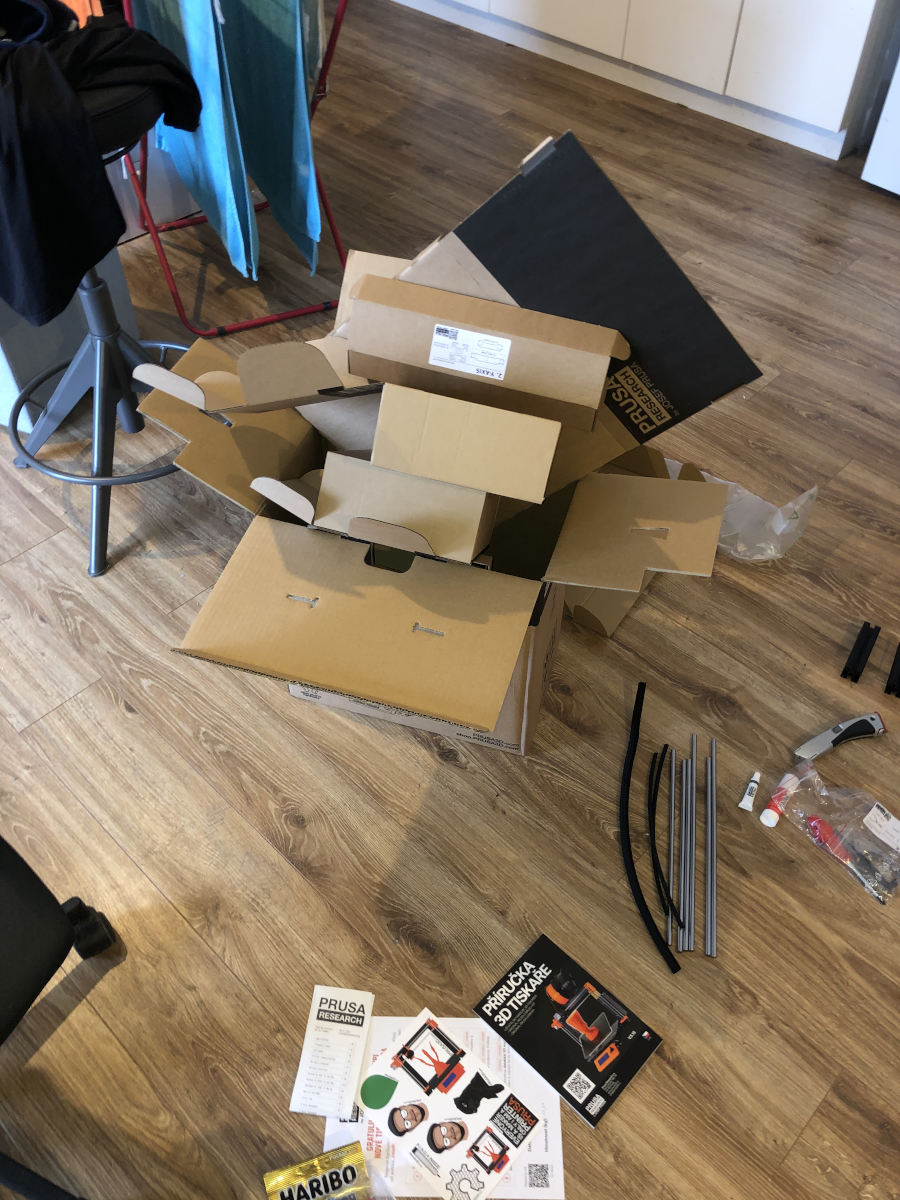
I ordered a kit version, mostly because it has shorter delivery times, so you wait several weeks less, but also because I really enjoy assembling all kinds of devices like this. I studied electronics and I assembled dozens of kits when I was younger, so I was looking forward to this.

It took me something like 8 hours first day and 4 hours second day to assembly the kit. A lot of hand screwing hex screws. I've tried using a battery powered screw gun, but it just destroyed the screw and split it in half even on the lowest torque setting (1 out of 15). So hand screwing it was.


As always, I took too few pictures, and now I am regretting that. The assembly manual is quite good, and quite large - it has 132 pages of instructions. Except for a few pages, where the pictures were too dark, and I had to turn to the online version with more bright images, I had no trouble to understand what I should do.

The most difficult, but also most interesting part was the extruder (printing head). It is made from many pieces sliced in 3D, which you need to screw together and insert all kinds of instruments. There is a stepper motor, IR sensor of the filament (printing material), actual printing head, two cooling fans and magnetic calibration sensor. You also have to slot wires into the prepared channels and then put everything together using like 30 screws.

I really liked this component, because you can really see the benefits of the computer aided design in its shape. It took me something like 5 hours to put it together.
Another hard part was wiring, where you need to line all the wires to the frame using zip ties and then connect it to the small control board. It was not that complicated, but pictures in the manual were too small and from weird angles, so it took me some time to figure it out.
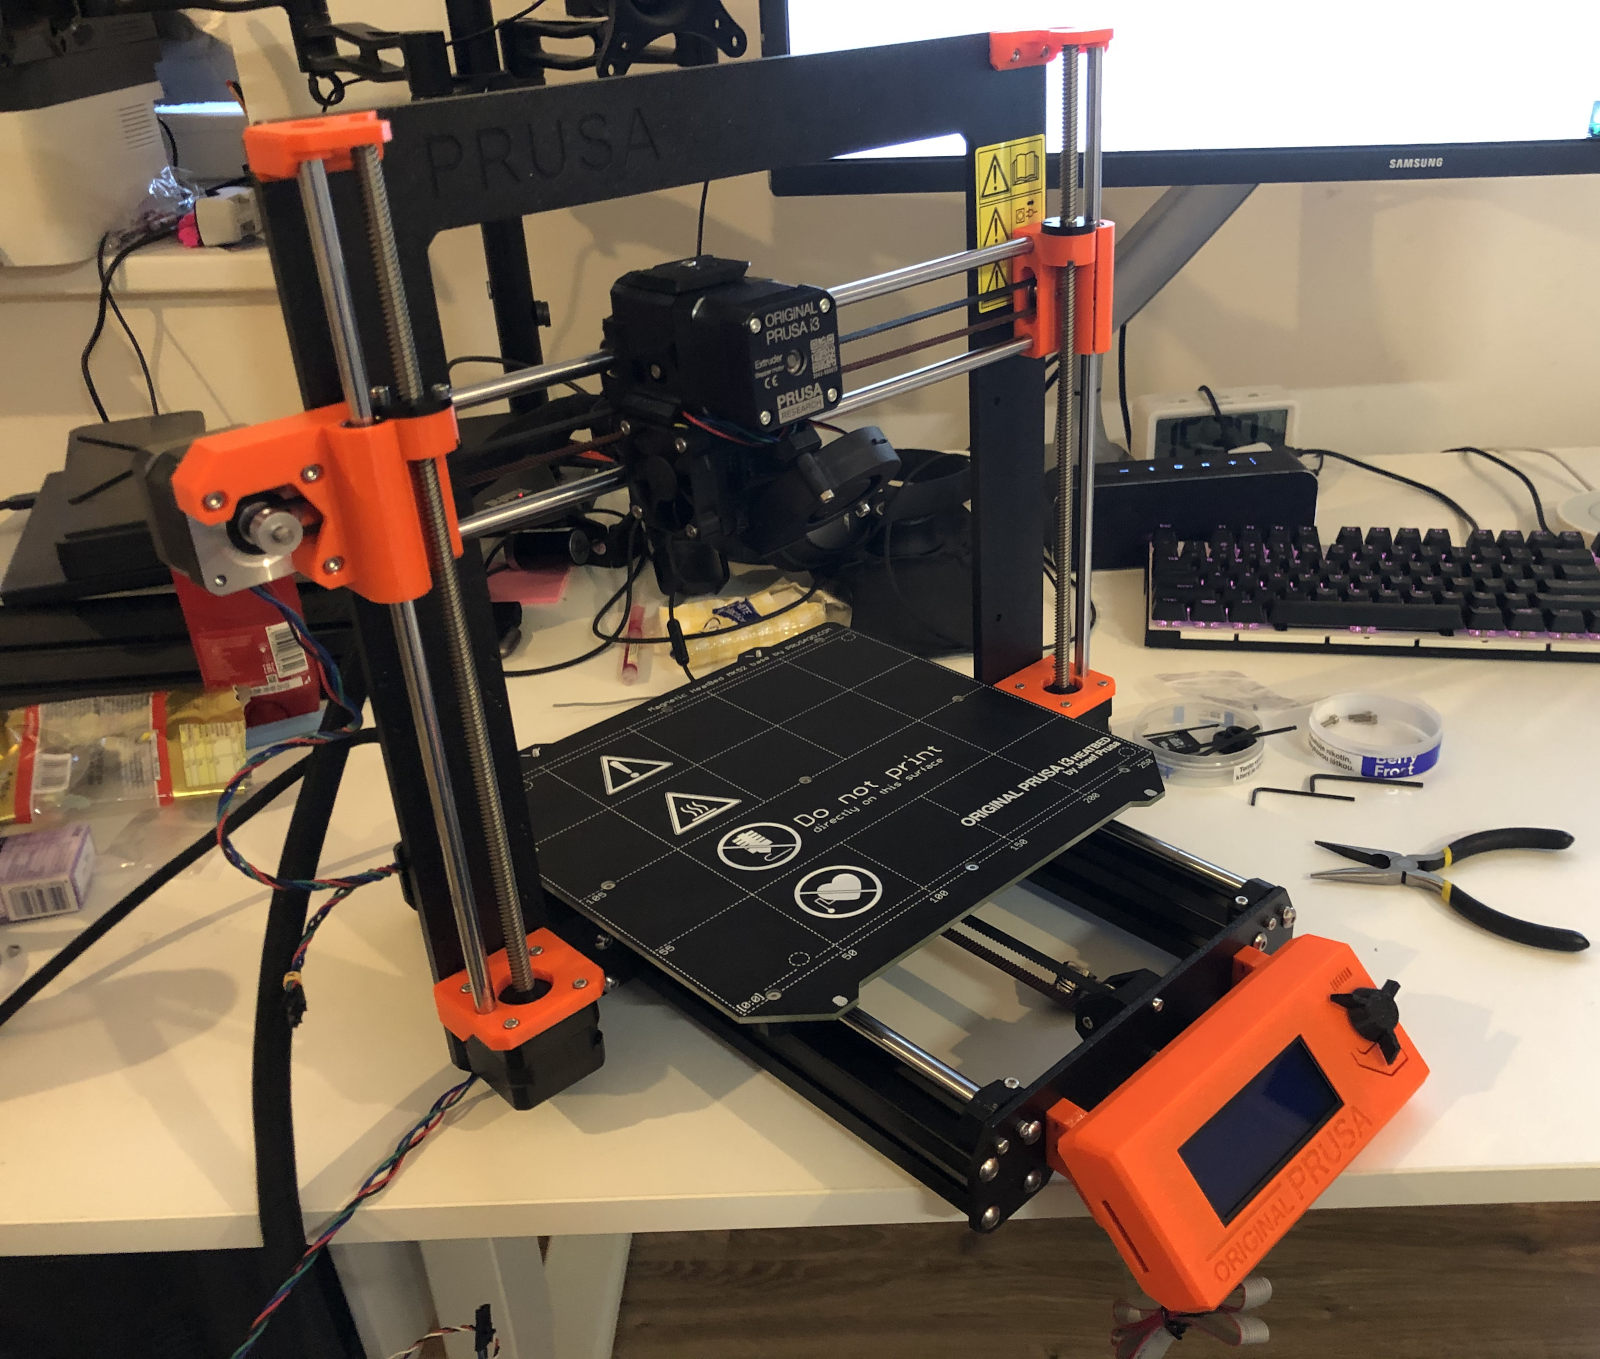
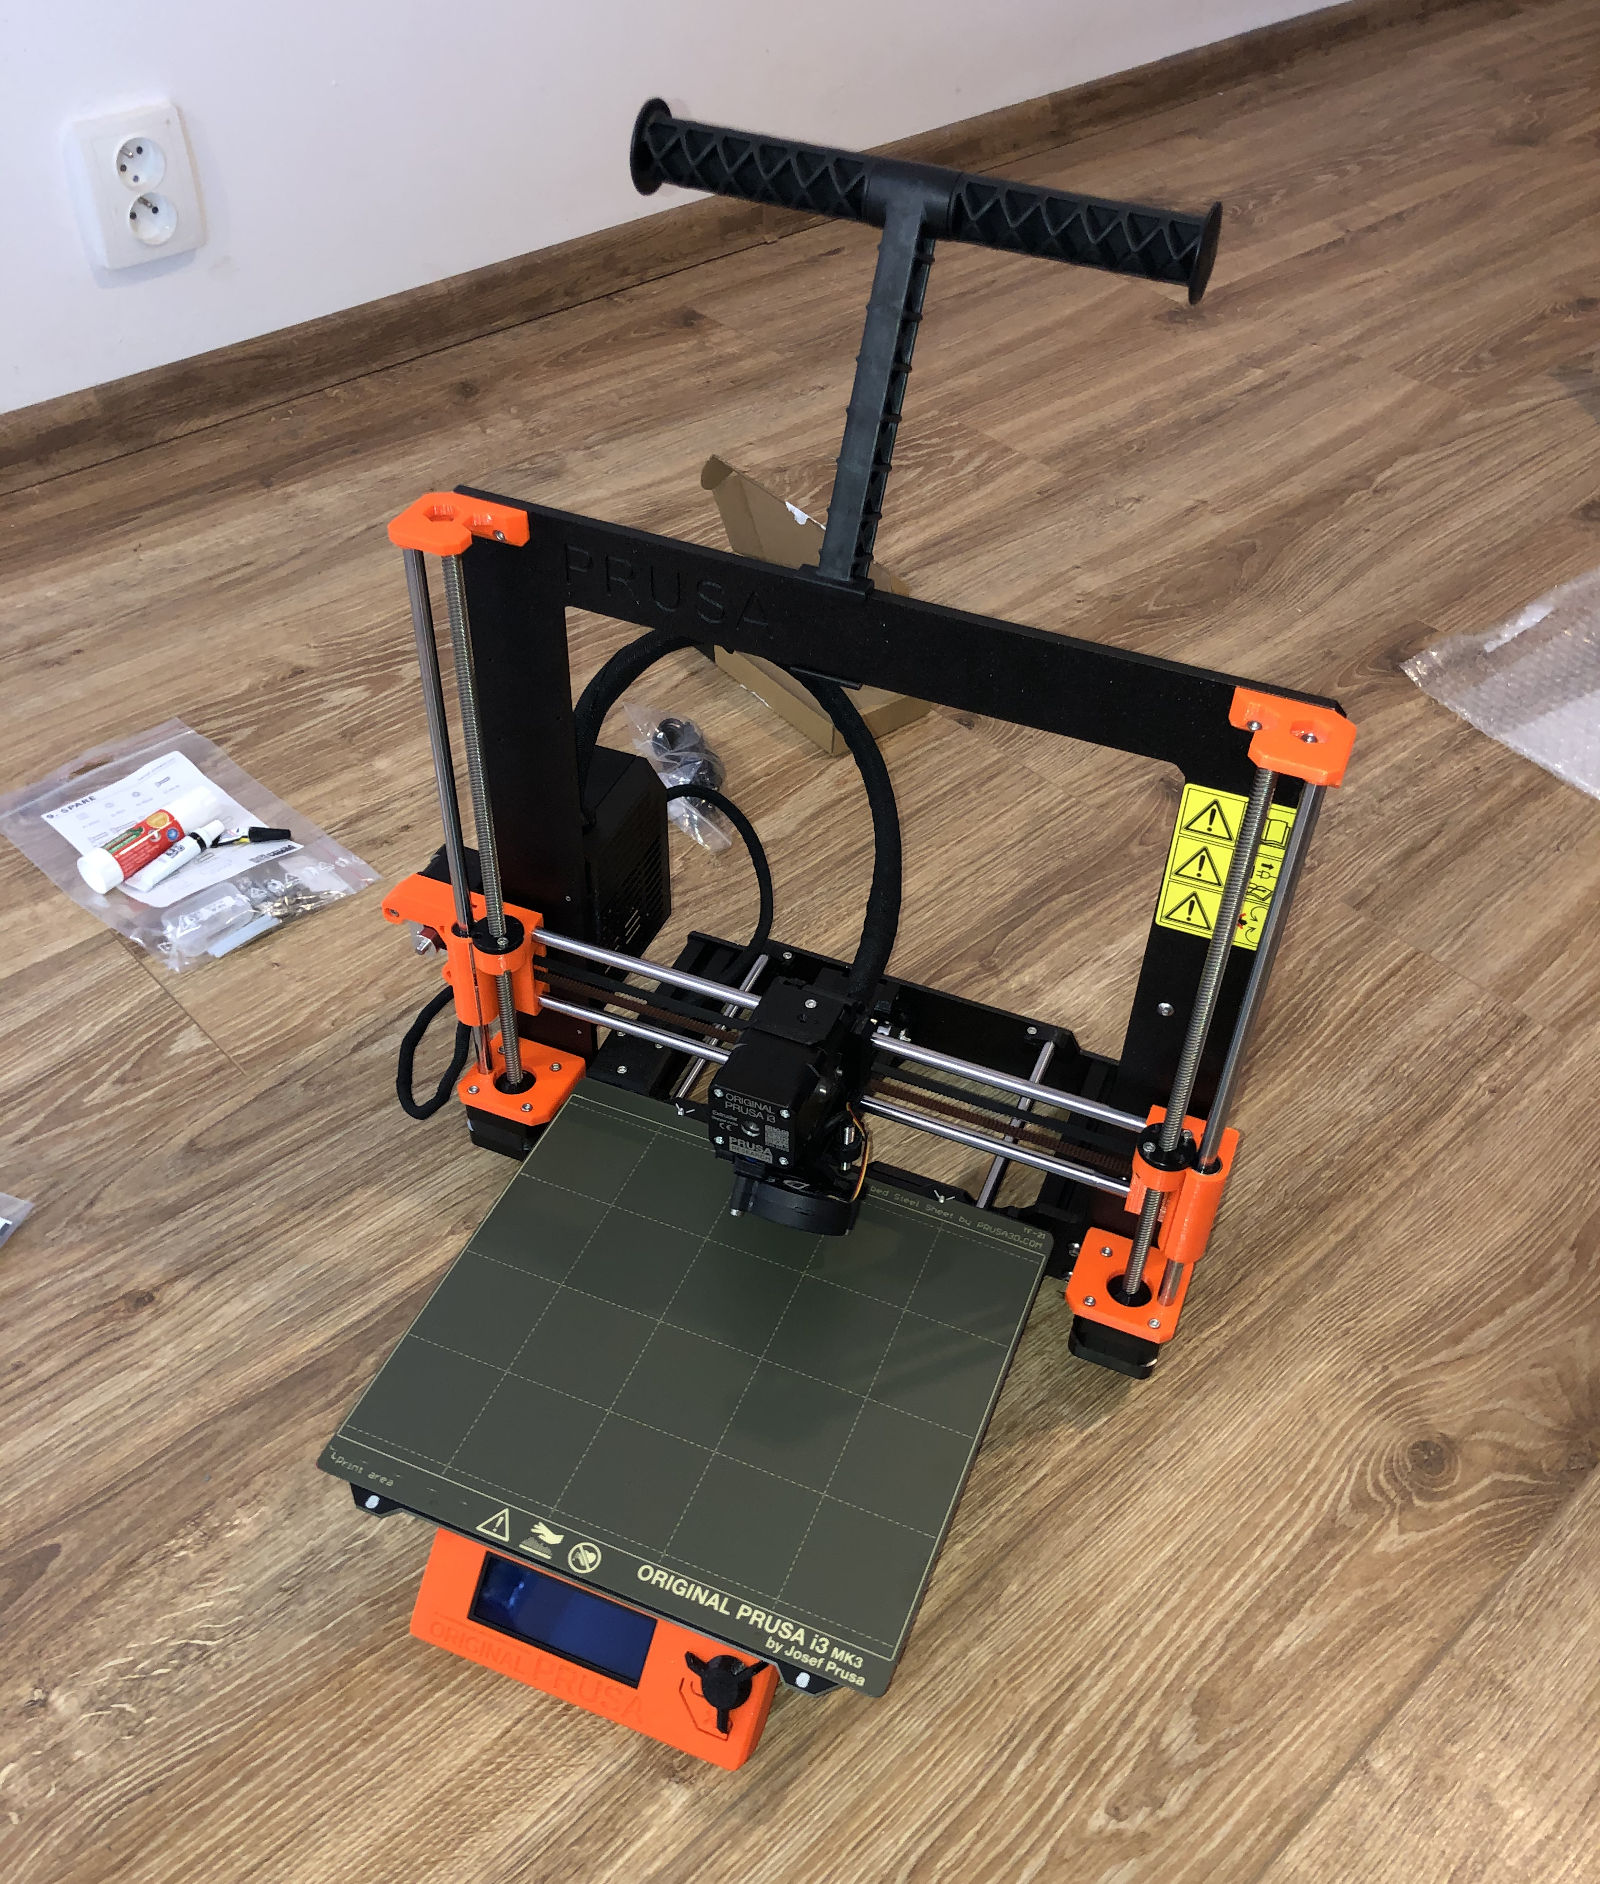
Here it is, fully assembled:
Next was the calibration, where the printer checks itself using the magnetic sensor in the head and applies all kinds of corrections towards bending in the frame structure.
It turned out, that this version of the printer (MK3S+) can't correctly calibrate itself with current version of the firmware (I suspect it had firmware for MK3S), so I had to upgrade it. After that, everything went smooth:

I use Czech version of the firmware, because why not. I was almost sad that the assembly part ended, because I enjoyed it much more than expected.
Then I calibrated the Z axis distance of the printing head, using the builtin feature for calibration. This required printing several times lines on the stand, I had to check their size and how much the printer head is distanced from the stand. It took me several tries and I had to lower the P.I.N.D.A. sensor, because my original Z axis calibration was more than -2 mm.
Printing
First thing I printed was PRUSA logo which is loaded in the SD card you get with the printer;
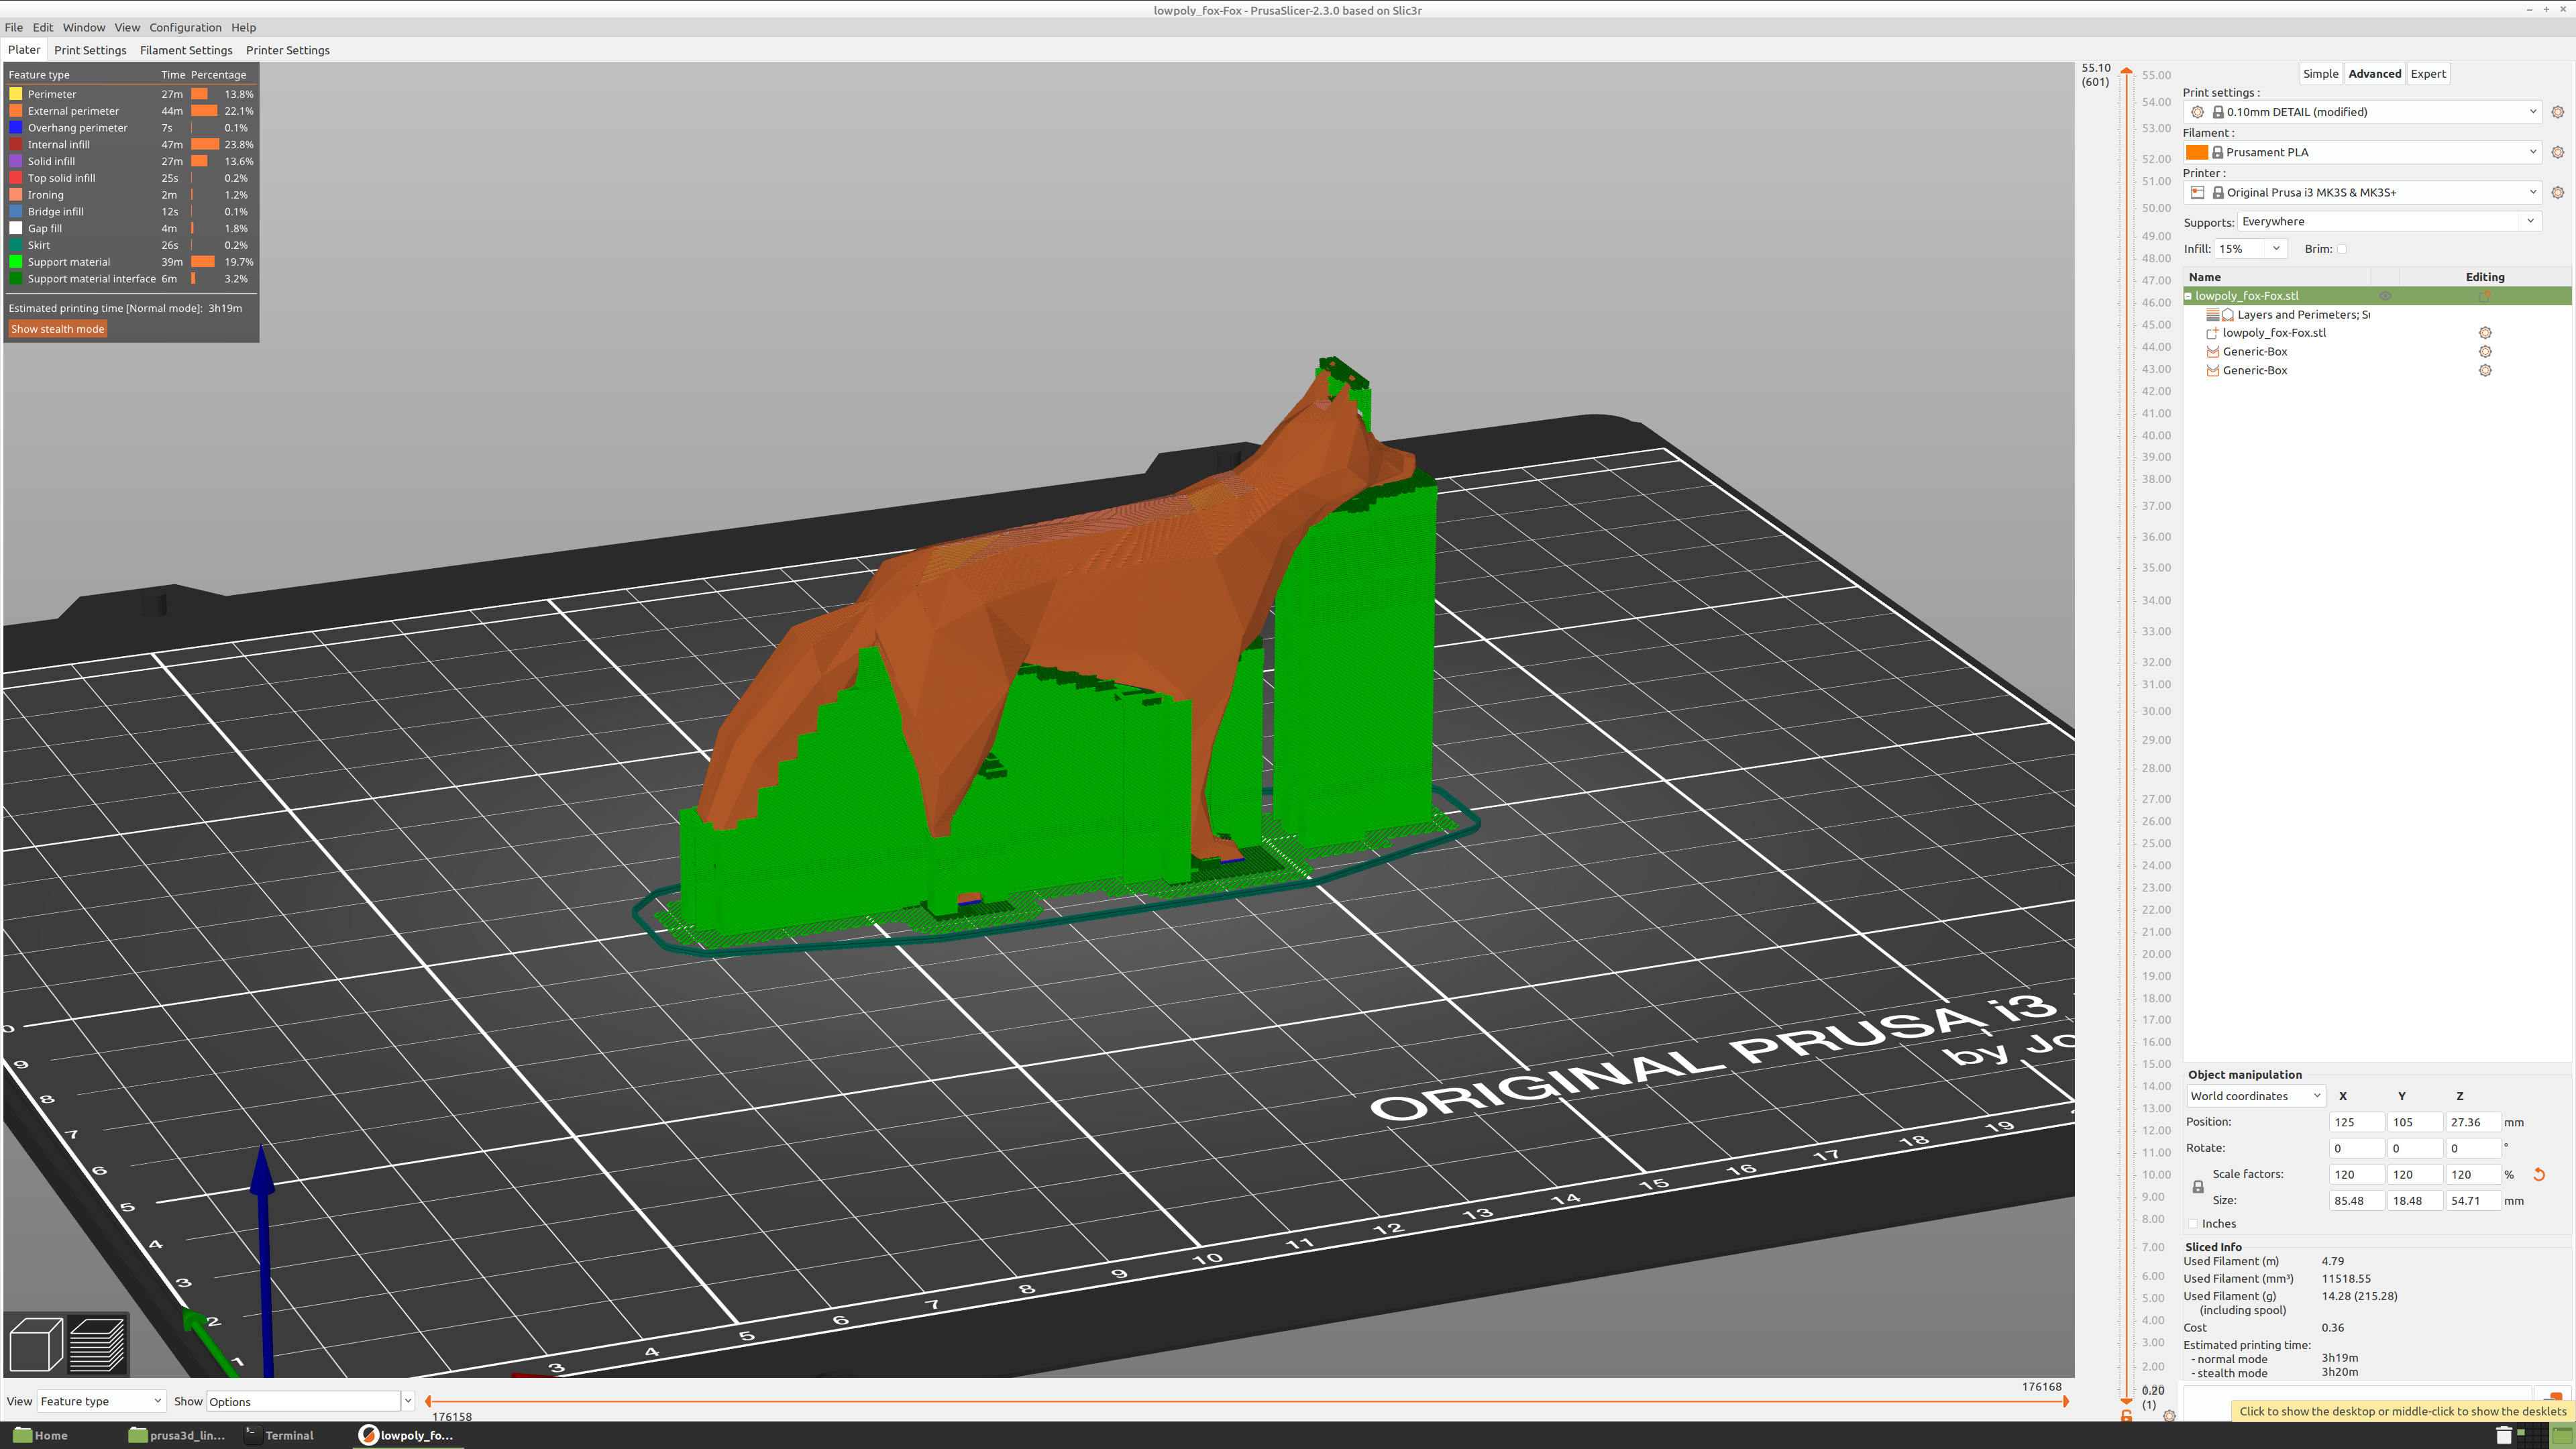
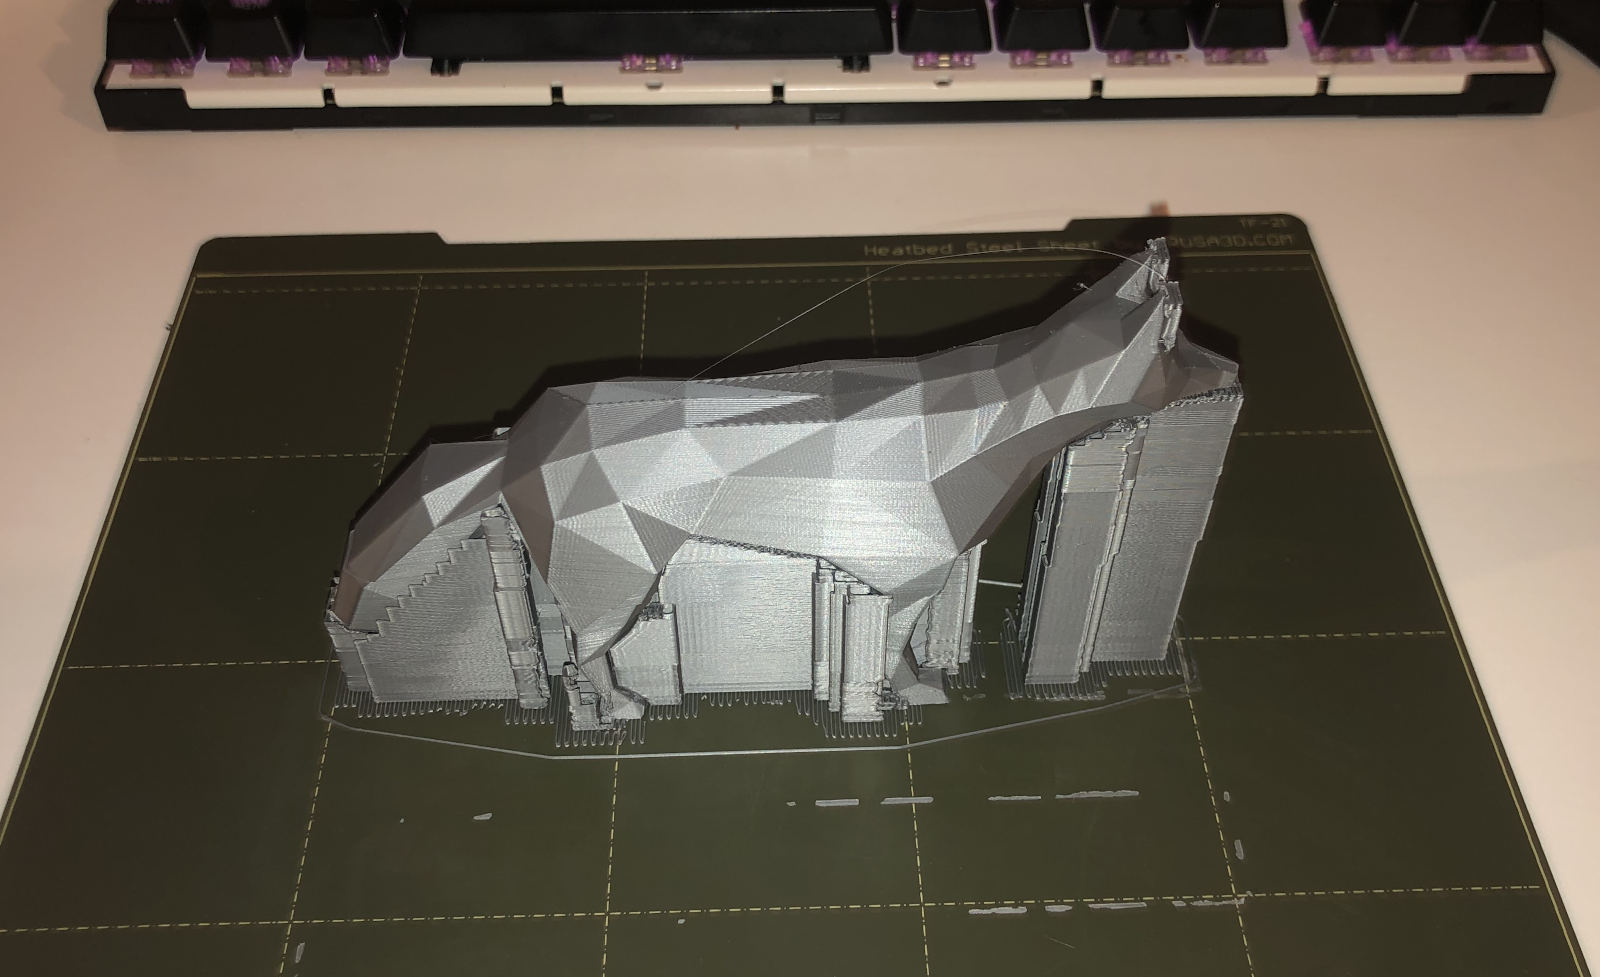
Now, this is exactly the quality of print that I expected from a hobby 3D printer. Imagine my surprise, when I then tried to print my own First lowpoly fox model, and it turned out, that it is much smoother, because I accidentally set Slicer to 0.07 mm printing quality:

It is hard to explain how much smooth it is, but you can't almost feel the lines on 0.07 mm settings. And it can do 0.05 mm! This is quite slow, but much, much better than what I expected.
As you can see, I stopped the model, because the tail printing failed. It turned out, that I had to add more supports to the tail manually, in the Slicer software, using the support enforcer feature.
The printing is much quieter than expected:
And that's not even the quiet mode it can do too. Here are the results of the first successfully printed model:
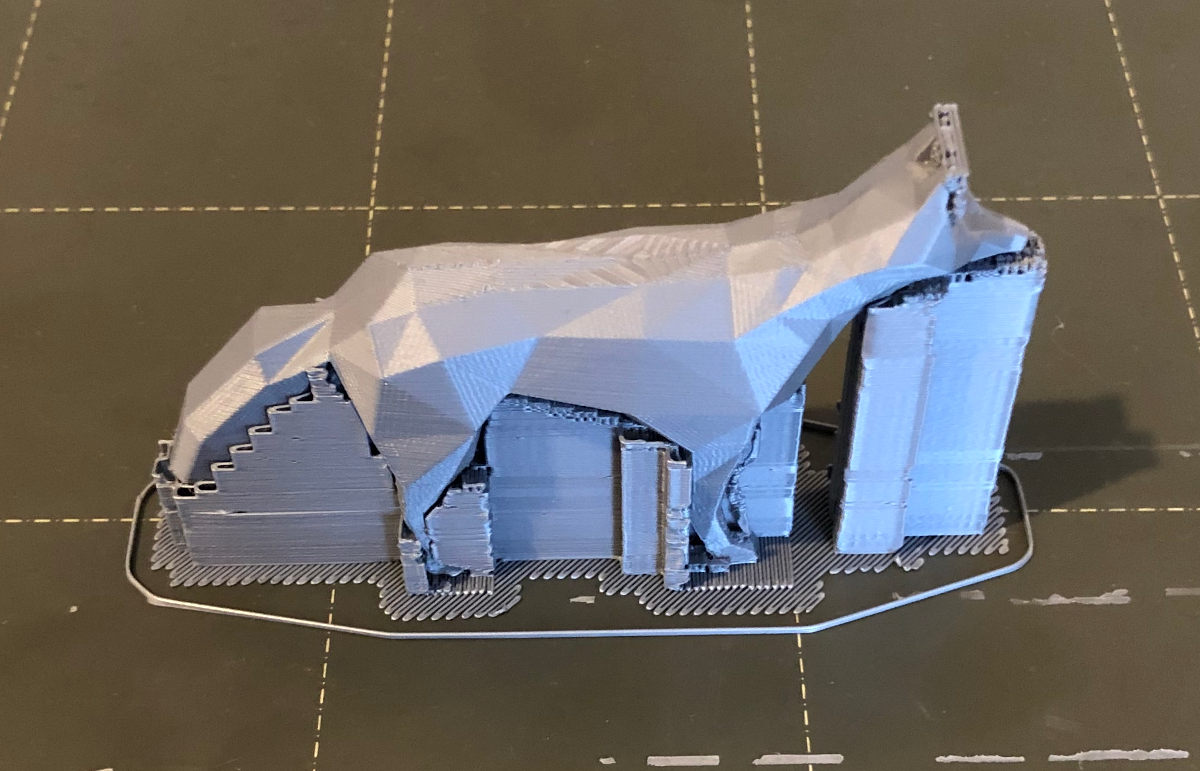


The back is rough, because I had ironing turned on for some reason, which is not a good idea for non-flat models. The back paws came off, because they were really toughly coupled with the support structures and I wasn't careful enough.
Big fox
Next, I've printed a bigger version of the model using 0.1 mm setting:


Measurements
I was curious about the precision of the printer, so I printed this little weird gizmo:

It's a cube with 10 mm dimensions, 10 mm cylinder and 45° angled diagonal box 10 x 10 x 1 mm. Here is the result using 0.05 mm printing settings (which took an hour to print, lol);

I am quite happy with the sub-millimeter precision. The height of the cube was slightly larger than expected, but because I had turned on settings which puts two printing layers before it actually starts printing the model itself.
Obviously, it is not machining precision, but for a hobby 3D printer which I've literally assembled by hand from a bunch of 3D printed materials, I think this is quite good.
What's next
Before I ordered the printer, I've forced myself to write a list of ten things to print. I wanted to convince myself, that I'll be using the printer for something, and didn't want to just buy a toy which will lay in the corner after a few days of toying with it. I try to avoid buying unnecessary things.
In the following blogs, I will introduce the things I've printed and evaluate if it is really useful and meaningful, or if it is just something that seems cool, but isn't really useful.
