
3D printing exhibit 2; Window shield for portable air conditioner
The flat where I live is right under the roof, which has a black coat. It gets exceptionally hot during the summer (like 10°C more than the air outside).
A few years ago, I’ve bought a cheap portable air conditioner unit. If you are not familiar with how the air conditioners work; they are basically heat pumps. They take the heat in the air and then use changes of pressure of the coolant to cool one part down and heat up the other. This has an annoying side effect, that you have to get rid of the heat, usually through the window. There you need some kind of blocker, so that the heated air doesn’t return right back (air conditioner is pumping the air outside, which creates under pressure, which forces the air to come back).
I’ve bought the cheapest possible option:

It kind of worked, but it was clumsy, didn’t really hold properly and after a year of usage, it completely disintegrated itself. So, I’ve decided to create a more robust replacement. Sure, I could probably buy that thing, but I’ve decided that building one myself will be more fun. Moreover, the heatwaves just started and I required something as soon as possible.
Design constraints
As always, I started with measurements on which I’ve later based my model.

One thing that was clear right from the beginning was that it will have to be made from many pieces, like a puzzle. The workspace size of my Prusa printer is limited to roughly 20x21cm.
With this in mind, I’ve created several iterations of the design in Blender. First just rough mockup of the window with some frame:


Then the frame itself with kind of interlocking pieces.
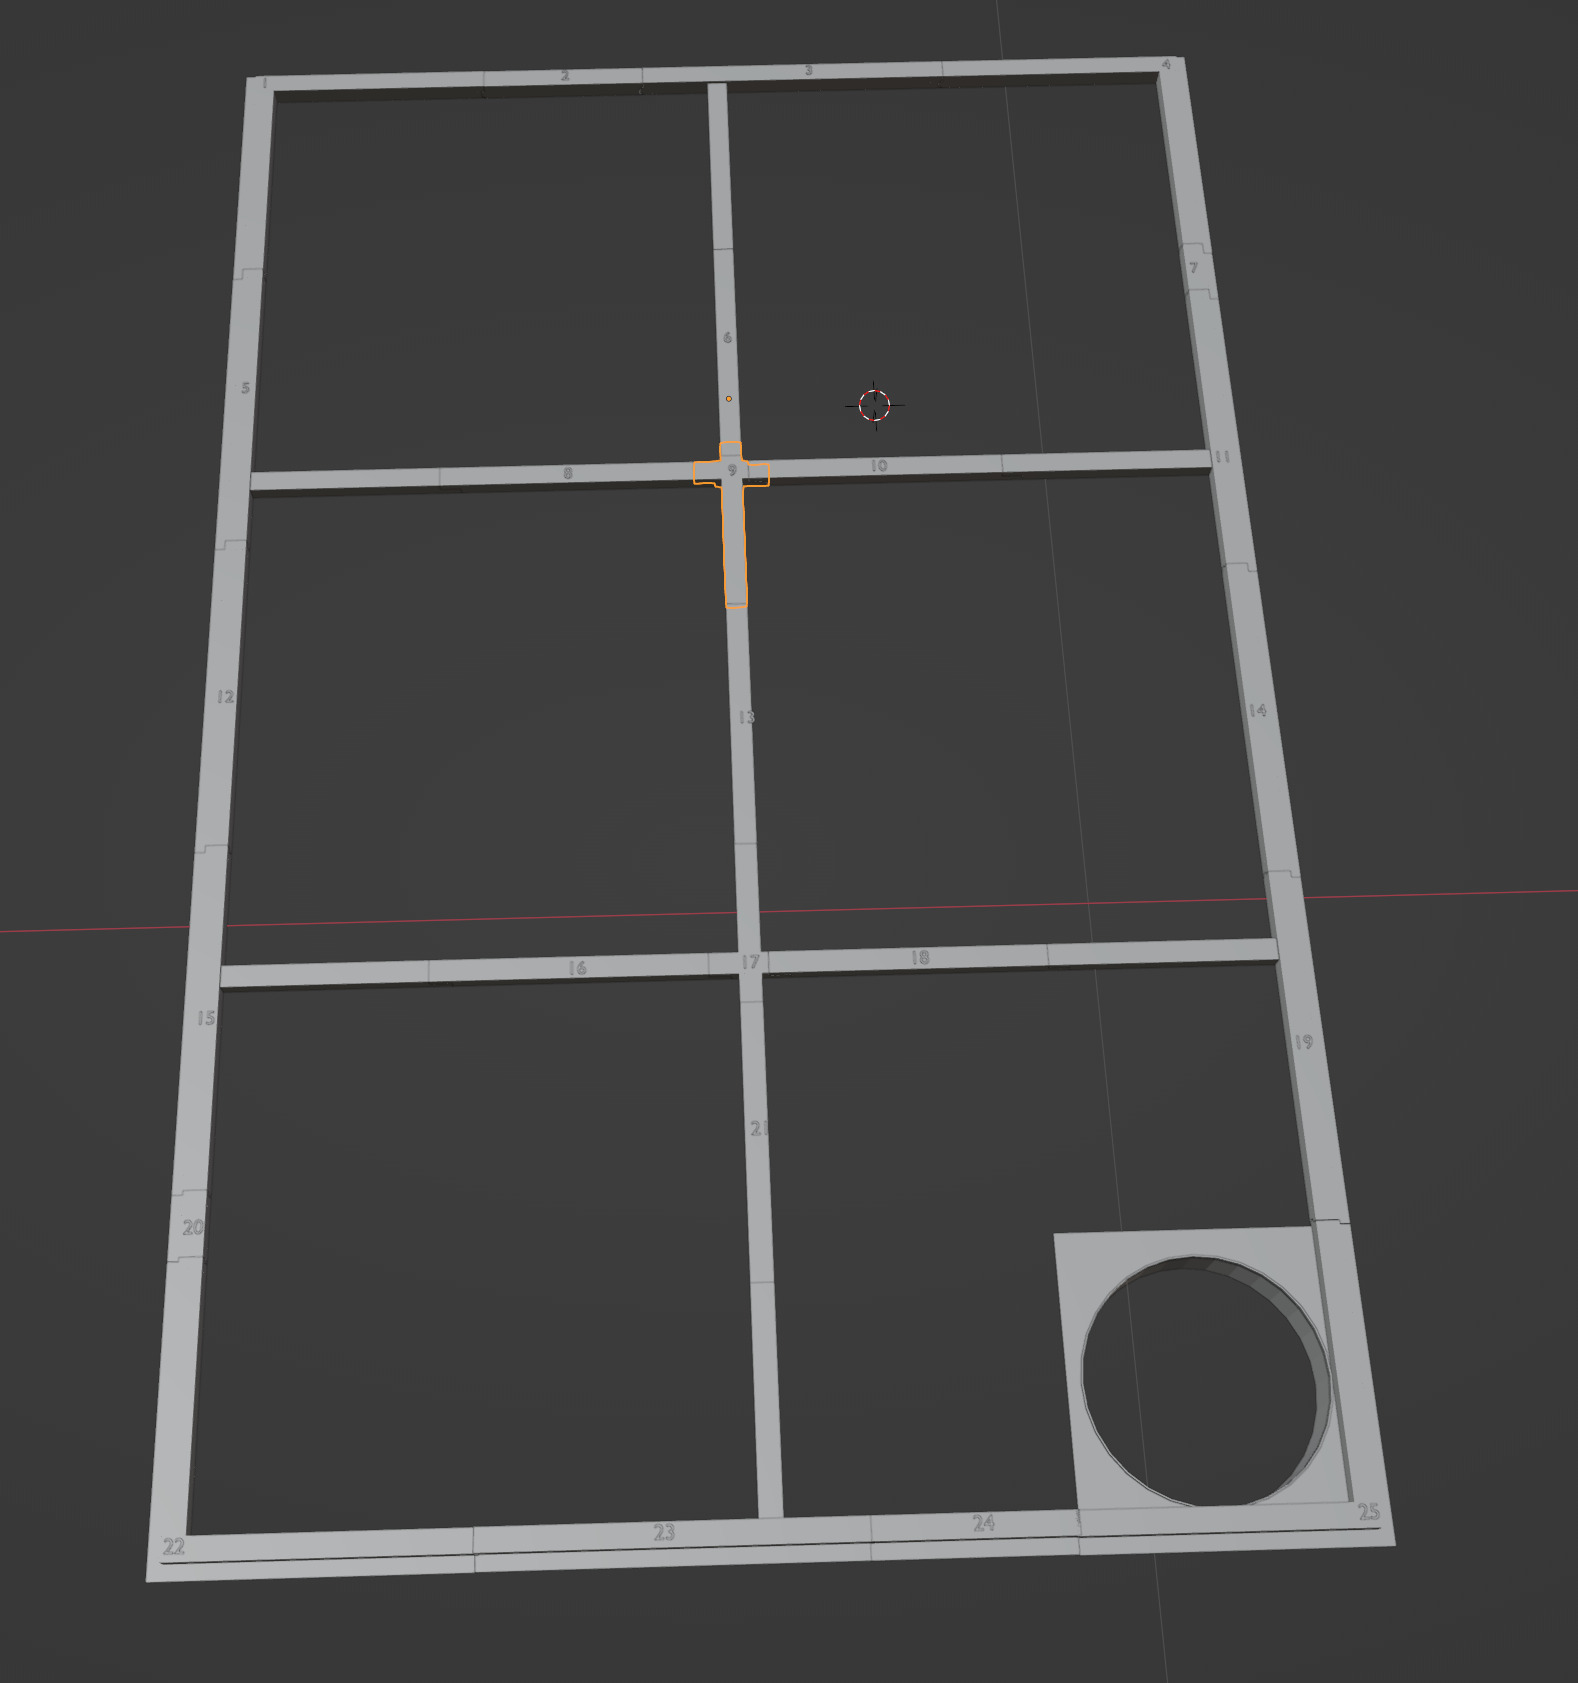
In the end, I did several iterations, until I was happy with the model.

The whole time, I’ve been using “MeasureIt” addon to check that everything fits together.

Print and assembly
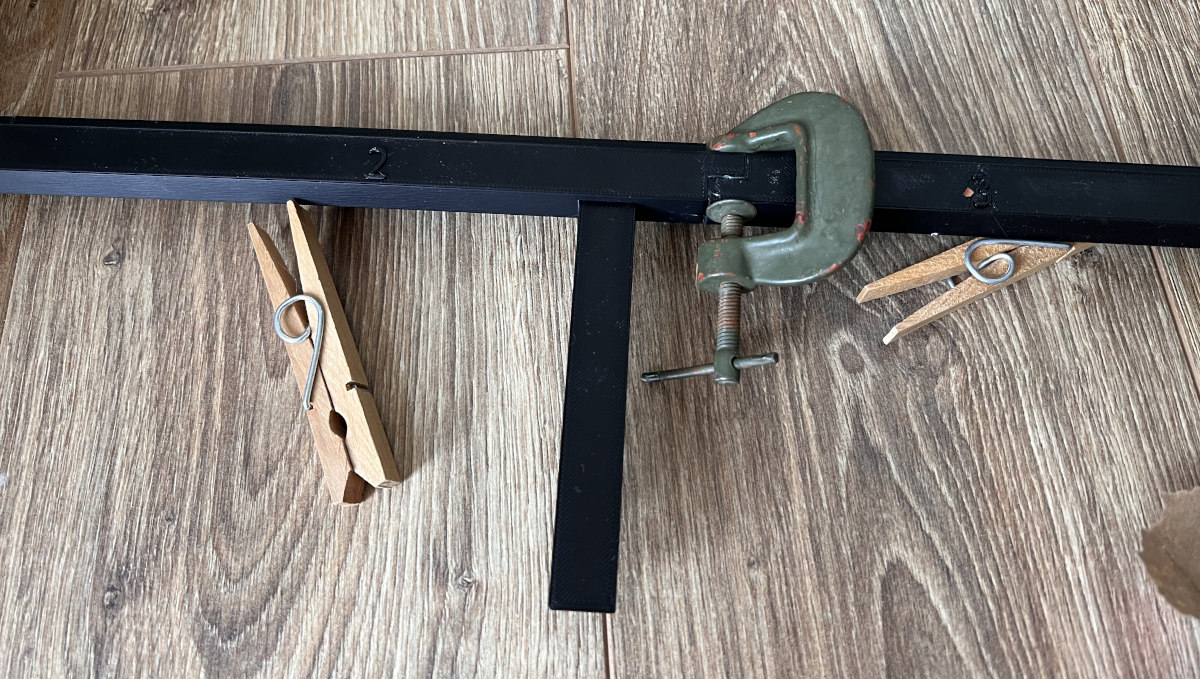
My original idea was to print it with as a whole on the 3D printer, and I did some test prints:

But it was quickly obvious, that this would take weeks to print. In the end, I’ve decided to print just the skeleton version. It still took like three days of printing (10% infill) in 9 batches.


Then I used several tubes of cheap superglue to put it all together:


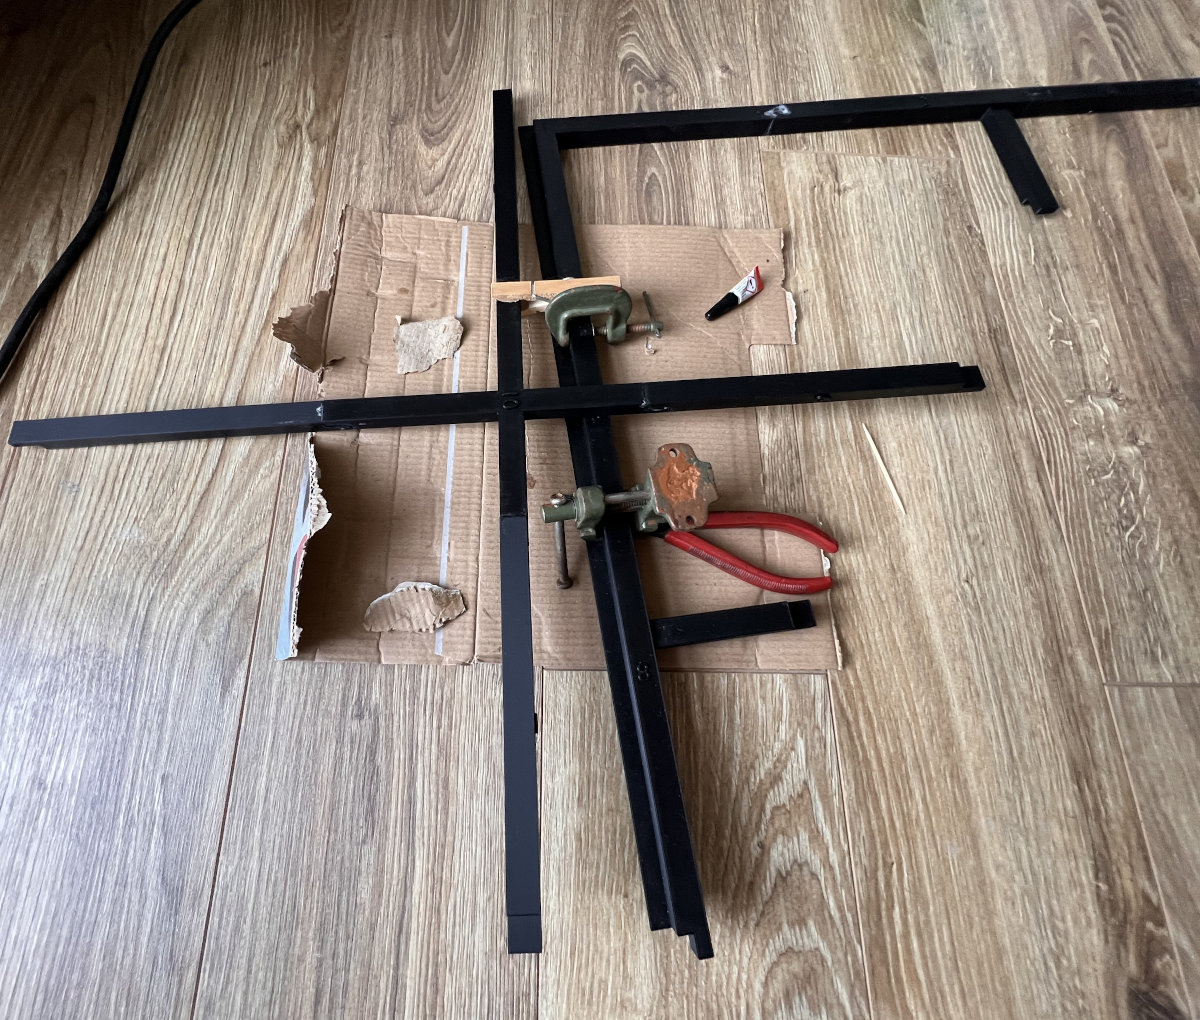

And then just superglued some old cardboard pieces to the skeleton. I’ve later also superglued aluminum foil to the front and gave it a neutral white paint coat, so it doesn’t look that weird.


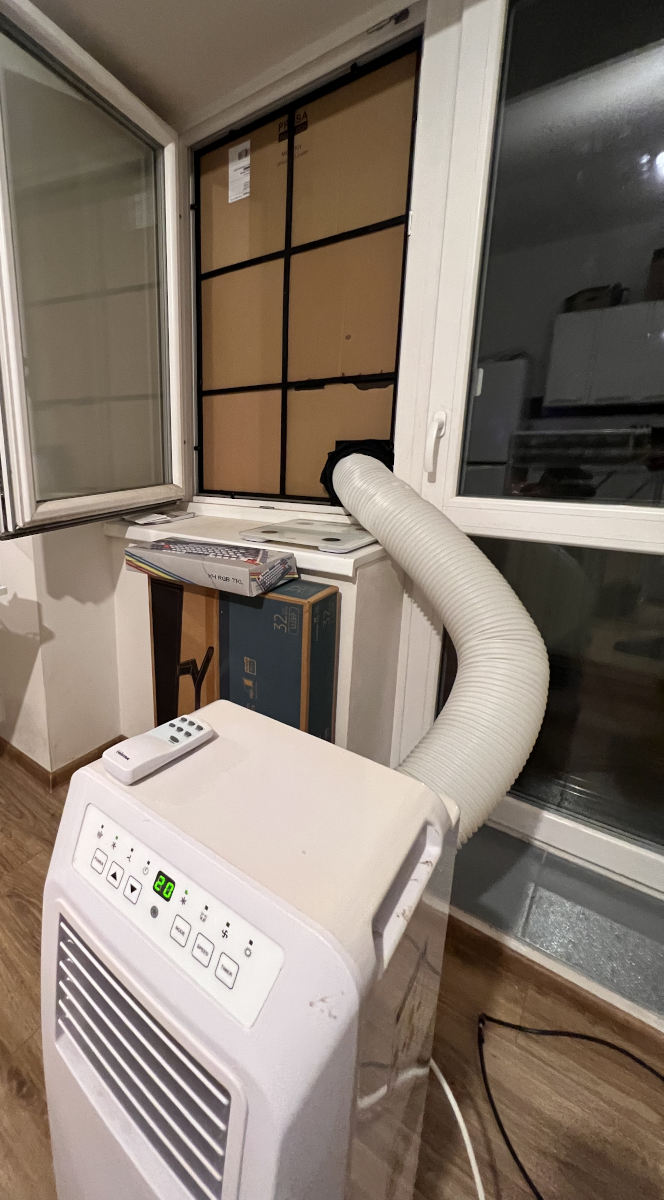


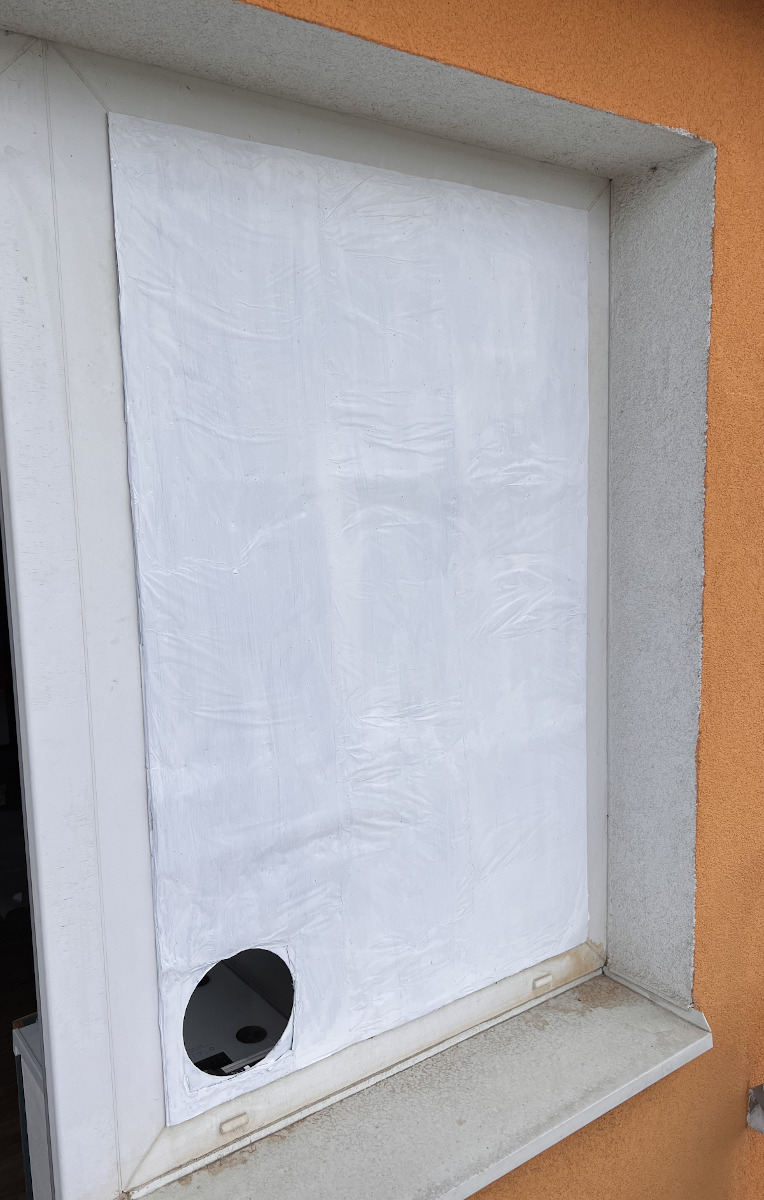
In the end, it worked quite nicely, and I used it for several months, without obvious signs of degradation, except for slight warping in some places. This occured after I’ve returned from the two-week vacation, so I have no idea what really happened during that time. Maybe part of the cardboard got slightly wet, or something like that.
